

Docker Compose Tutorial: Managing Multi-Container Apps Made Easy
Docker Compose Tutorial for Beginners
In our last article, we looked at how Docker works under the hood. We learned what images are, how the daemon operates, and how to start a single container.
But let's be honest: Modern web applications are rarely solo acts.
A typical app often consists of a frontend, a backend service, a database like PostgreSQL, and maybe a caching layer like Redis. If you try to juggle all of this with individual docker run commands in the terminal, you'll quickly lose track. You'd have to manually create networks, manage IP addresses, and pay attention to startup order.
This is exactly where Docker Compose comes into play.
What is Docker Compose?
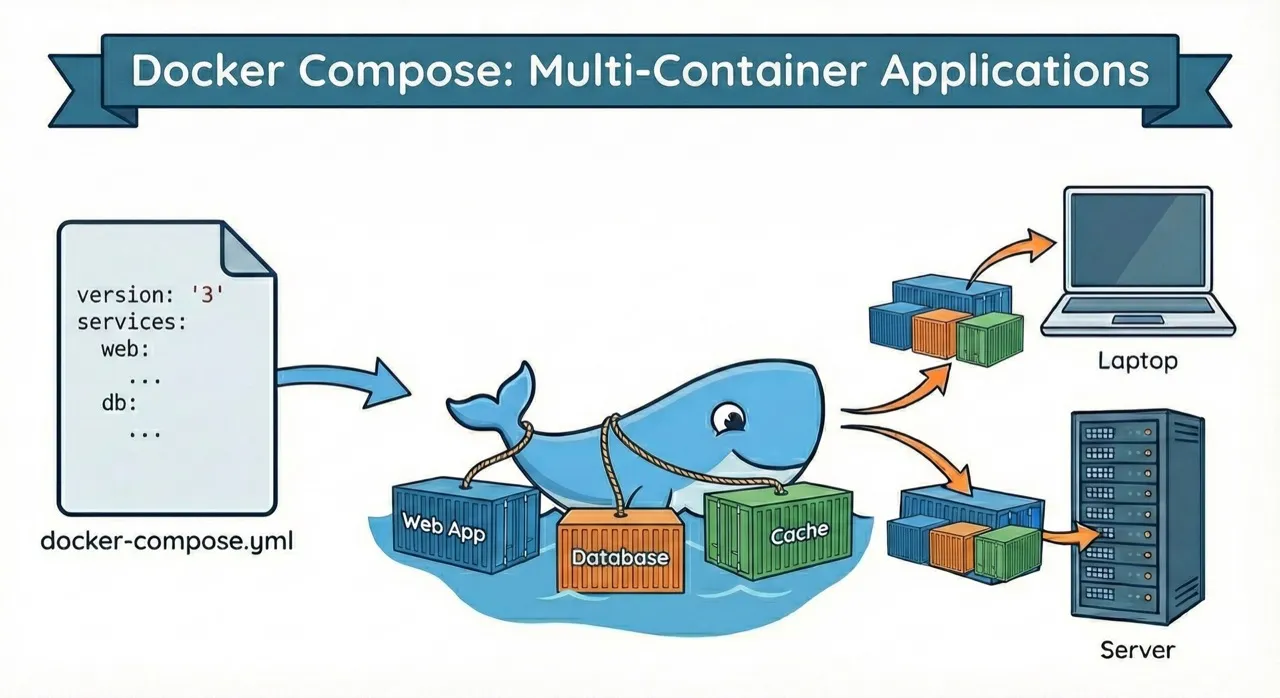
Docker Compose is a tool for multi-container applications. If the Dockerfile is the recipe for a single component (like a cake), then Docker Compose is the menu for the entire 3-course meal.
With a single file, the docker-compose.yml, you describe your complete infrastructure. The genius part: You can spin up your entire environment with a single command.
Why is this especially important for selfhosting?
If you want to host your own services on a VPS, you need a solution that manages multiple containers simultaneously. Without Docker Compose, things get messy fast. With Docker Compose, you have everything under control. Whether you're running Nextcloud, GitLab, n8n, or a WordPress instance.
The Anatomy of docker-compose.yml
Docker Compose uses YAML. This is a format that's readable for both humans and machines. Let's look at the most important building blocks.
Services: The Individual Containers
Under services you define the containers that should run. Each service gets a name (like web or db), which you can later use for internal communication.
Networks: Simple Networking
Container networking used to be complicated. With Docker Compose, it's almost magical. Services in the same network can reach each other via their service name. You don't have to hardcode IP addresses anymore. Your backend simply calls db:5432, and Docker routes it to the database container.
Volumes: Persistent Data
Containers are ephemeral. When you delete a database container, the data is gone. Unless you use volumes. In the Compose file, you define where data should be persistently stored on your host system.
Here's a practical example for a setup with a web app and database:
version: '3.8'

services:
  webapp:
    build: ./app
    ports:
      - '8080:80'
    depends_on:
      - database
    environment:
      - DB_HOST=database
      - DB_USER=${DB_USER}
      - DB_PASS=${DB_PASSWORD}
    restart: unless-stopped

  database:
    image: postgres:15-alpine
    volumes:
      - db_data:/var/lib/postgresql/data
    environment:
      - POSTGRES_USER=${DB_USER}
      - POSTGRES_PASSWORD=${DB_PASSWORD}
    restart: unless-stopped

volumes:
  db_data:
Note: The variables like ${DB_USER} are environment variables. More on that in a moment.
Essential Docker Compose Commands
Docker Compose makes your workflow extremely efficient. Instead of long shell scripts, you only need a handful of commands:
Start containers:
docker-compose up -d
This command reads your configuration, pulls the necessary images, creates networks, and starts all containers in the background (-d for detached).
Check status:
docker-compose ps
Shows you immediately which services are running, which ports are occupied, and if a container has crashed.
View logs:
docker-compose logs -f
Essential for debugging. This lets you see the log outputs of all services bundled in one stream.
Stop containers:
docker-compose down
Stops the containers and cleans up the networks. Clean and tidy.
Rebuild containers:
docker-compose up -d --build
If you've made changes to your code, this command rebuilds the images and starts the containers.
Environment Variables and Security
In the code example above, we used ${DB_PASSWORD}. Hardcoded passwords in a yml file are a security risk – especially if you push the code to GitHub.
Docker Compose supports .env files automatically. Create a file named .env in the same folder and add the variables:
DB_USER=admin
DB_PASSWORD=supersecret
Important for security:
- Add
.envto your.gitignore - Use different passwords on your production server than locally
- Never use default passwords like "admin123"
Docker Compose for Selfhosting on Your VPS
Why is Docker Compose perfect for selfhosting?
1. Easy Setup on a VPS
You log in via SSH to your server, upload your docker-compose.yml, and start your complete infrastructure with one command.
2. Reproducible Environments Your local development looks exactly like your production server. No more "but it works on my machine!" problems.
3. Simple Updates
New version of your app? Change the image tag in the docker-compose.yml, run docker-compose pull and docker-compose up -d – done.
4. Resource Efficiency On a VPS with 4GB RAM, you can easily host 5-10 smaller services simultaneously, thanks to the lean container architecture.
Practical Example: WordPress with MySQL
Here's a complete example of how you can selfhost WordPress:
version: '3.8'

services:
  wordpress:
    image: wordpress:latest
    ports:
      - '80:80'
    environment:
      WORDPRESS_DB_HOST: db
      WORDPRESS_DB_USER: ${DB_USER}
      WORDPRESS_DB_PASSWORD: ${DB_PASSWORD}
      WORDPRESS_DB_NAME: wordpress
    volumes:
      - wordpress_data:/var/www/html
    depends_on:
      - db
    restart: unless-stopped

  db:
    image: mysql:8.0
    environment:
      MYSQL_DATABASE: wordpress
      MYSQL_USER: ${DB_USER}
      MYSQL_PASSWORD: ${DB_PASSWORD}
      MYSQL_ROOT_PASSWORD: ${DB_ROOT_PASSWORD}
    volumes:
      - db_data:/var/lib/mysql
    restart: unless-stopped

volumes:
  wordpress_data:
  db_data:
Here's how to start it on your server:
# Upload Docker Compose file
scp docker-compose.yml root@your-server.com:/opt/wordpress/

# On the server
ssh root@your-server.com
cd /opt/wordpress
echo "DB_USER=wpuser" > .env
echo "DB_PASSWORD=secure-password" >> .env
echo "DB_ROOT_PASSWORD=even-more-secure-password" >> .env

# Start
docker-compose up -d
Common Problems and Solutions
Problem: Container won't start
docker-compose logs service-name
Check the logs. Usually an environment variable is missing or a volume path doesn't exist.
Problem: Port already in use
Change the port on the left side of the colon in docker-compose.yml: "8080:80" instead of "80:80"
Problem: Container can't access other services Check if all services are in the same network and if the service names are spelled correctly.
Best Practices for Docker Compose
- Always use
restart: unless-stoppedThis makes your containers start automatically after a server reboot - Separate development and production
Use separate Compose files:
docker-compose.ymlfor development,docker-compose.prod.ymlfor production - Manage secrets securely
Use
.envfiles for local development and Docker Secrets or environment variables for production - Use healthchecks So Docker automatically checks if your services are actually running
- Limit resources Especially important on smaller VPS – prevents one container from consuming all resources
From Local to Production: The Deployment Workflow
Here's what a typical workflow looks like:
- Develop locally
docker-compose up -d # Make code changes, test docker-compose restart webapp - Deploy to server
# Push code to server (Git, rsync, scp) ssh user@server docker-compose pull docker-compose up -d --build - Monitor
docker-compose logs -f
docker-compose ps
Conclusion: Docker Compose for Selfhosting
Docker Compose transforms the chaos of individual containers into a well-organized system. It's the tool that takes you from "playing around with Docker" to "running real production environments."
The key advantages:
- Everything in one place: The entire configuration is in one file
- Isolated environments: You can run multiple projects in parallel on one server
- Easy networking: Containers communicate via DNS names
- Perfect for selfhosting: Ideal for VPS hosting on the provider of your choice
Whether you want to host a blog, a cloud storage solution, or a monitoring system, Docker Compose makes it simple, maintainable, and reproducible.
Next steps:
- Get yourself an affordable VPS
- Install Docker and Docker Compose
- Start with a simple hobby project
- Gradually expand your infrastructure — explore what Docker Swarm offers when you outgrow Compose, or understand the differences between Kubernetes and Docker Swarm, or see Docker, Compose, Swarm, and Kubernetes compared side by side
Want to learn more about deployment strategies and selfhosting? Check out our hosting solutions at lowcloud.io – optimized for Docker and modern container workflows.
EU AI Act Hosting: What Changes for AI Workload Operators
The EU AI Act introduces new obligations for AI system operators. What hosting customers need to know about risk classification, logging, and sovereign infrastructure.
Full-Stack Developer Reality: What the Title Actually Means
An honest look at what full-stack development means today, where the real problems lie, and how developers can navigate it without burning out.