

Get Started
Last updated: March 11, 2026
Get up and running with lowcloud in minutes. This guide walks you through setting up your first Kubernetes cluster on Hetzner Cloud.
Prerequisites
Before you begin, make sure you have:
- A lowcloud account — sign up here
- A Hetzner Cloud account
Step 1: Prepare Your Hetzner Account
Create a New Project
Log in to the Hetzner Cloud Console and create a new project. Choose a descriptive name, e.g. lowcloud.
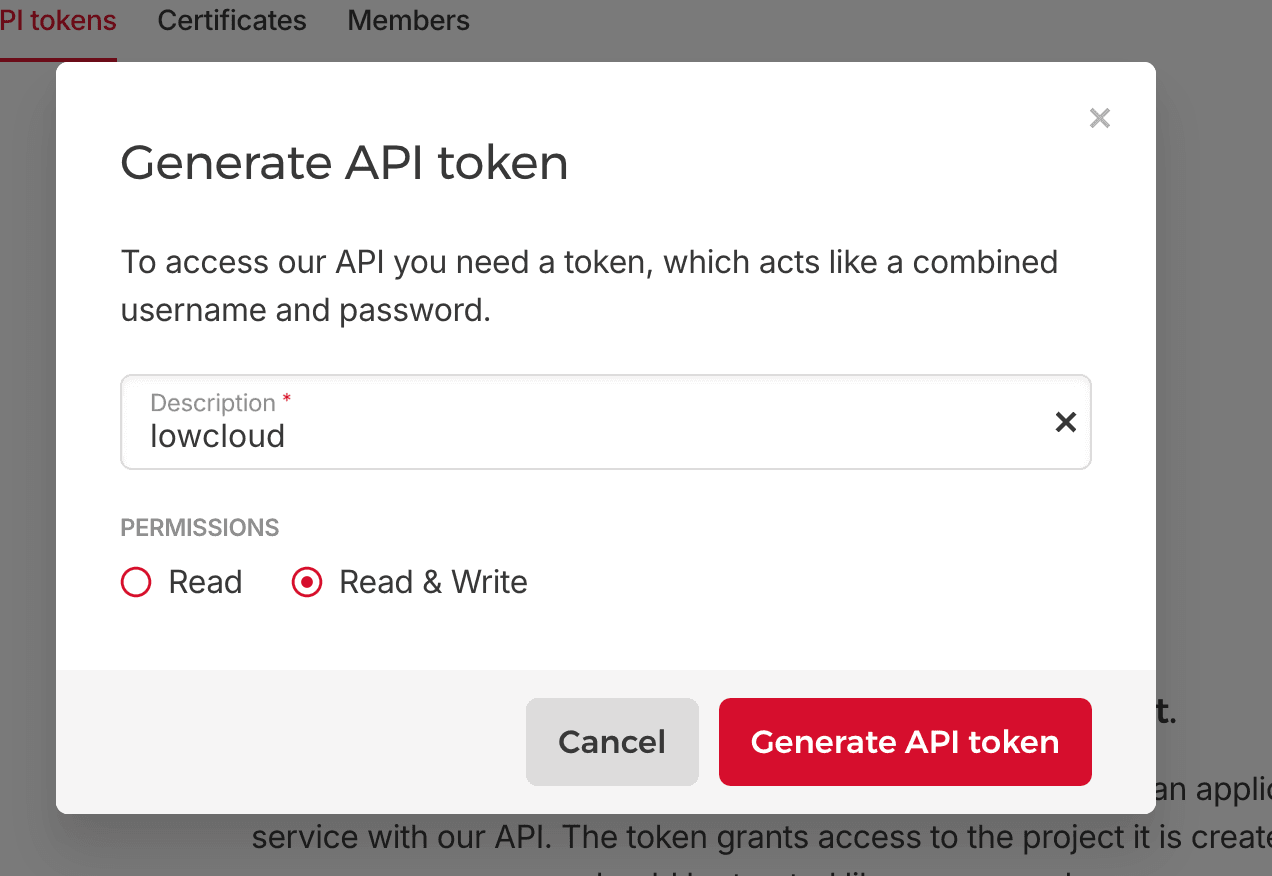
Add an API Key
Navigate to Security → API Tokens within your project and create a new token with Read/Write permissions. Copy the token — you will need it in the next step.
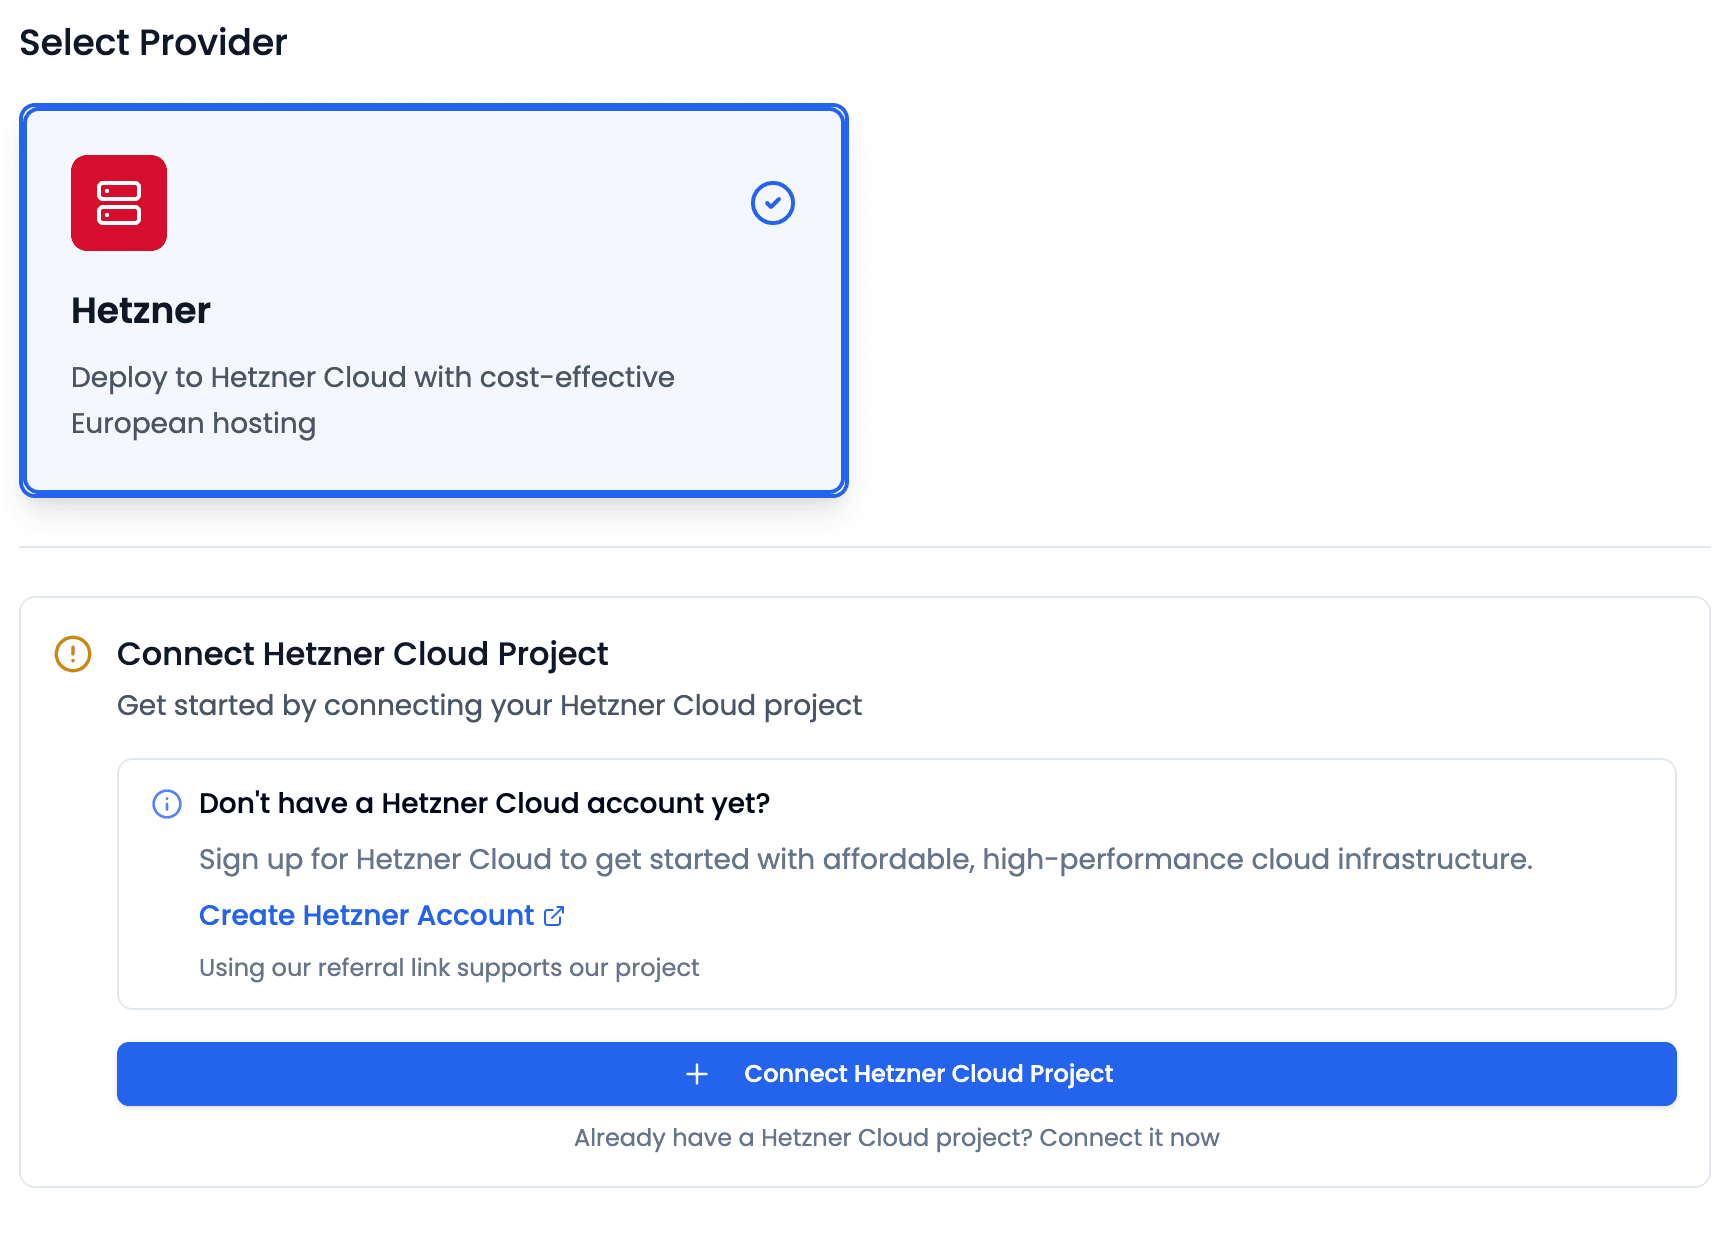
Step 2: Create a Project in lowcloud
Create a new project in the lowcloud Dashboard:
- Choose a project name.
- Under Select Provider, select Hetzner.
- Click Create Hetzner Connection.
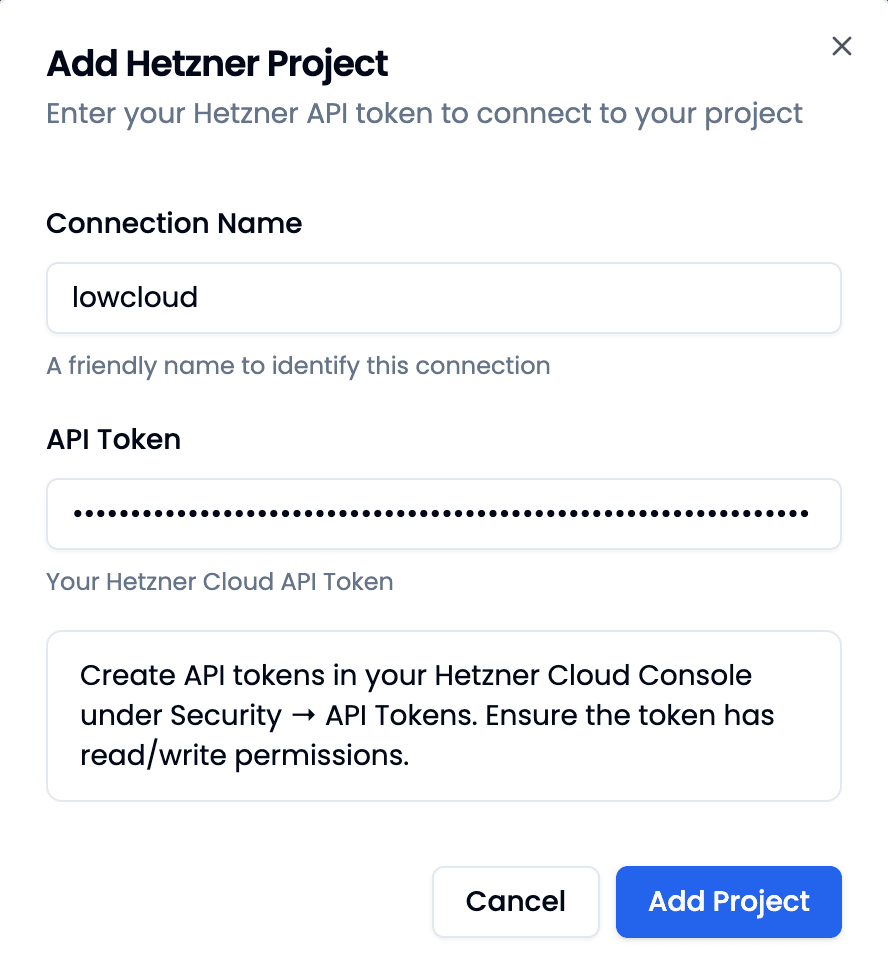
Fill in the dialog:
- Connection Name: A name for the connection
- Project Name: The project name of your Hetzner project from the Hetzner Console
- API Token: The API key from Step 1
Click Add to save the connection.
Then click Create Project to create the project.
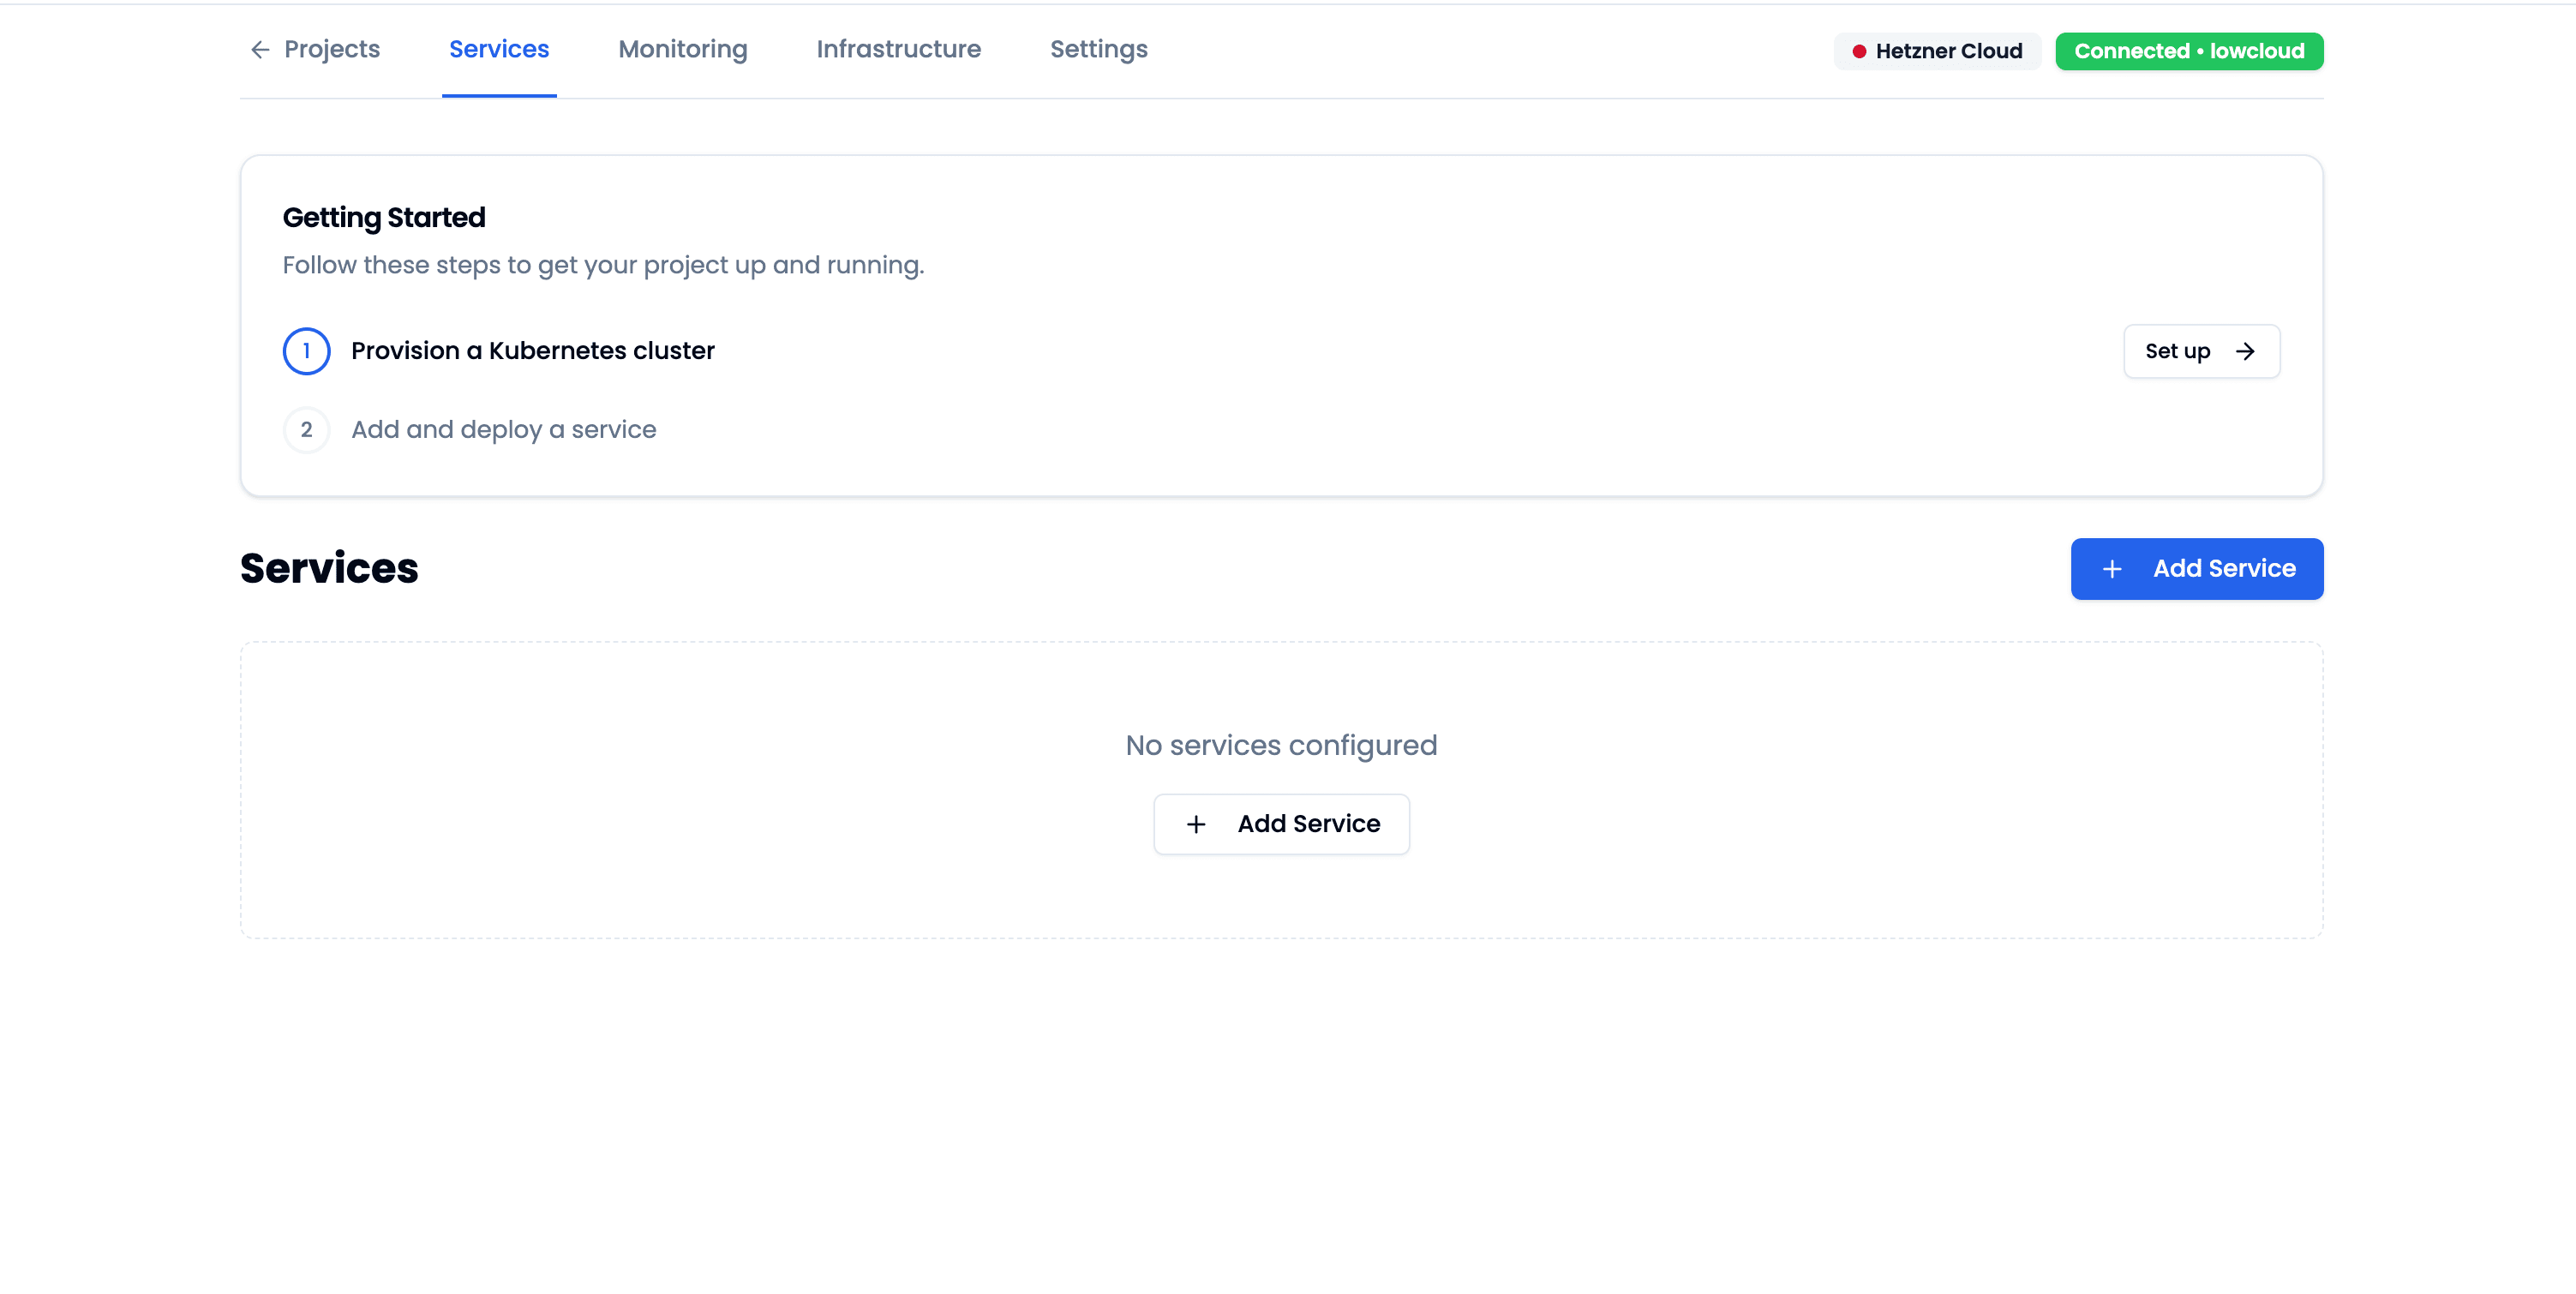
Step 3: Provision a Kubernetes Cluster
After creating the project, you will land on the project page. The Getting Started card shows you the next steps: Provision Kubernetes Cluster and Add and deploy service.
Click Set up on Provision Kubernetes Cluster.
You will land on the Infrastructure page. Click Provision K8s Cluster. A dialog opens with a preconfigured setup: a single node Control Plane and one worker group with 2 replicas. You can keep the defaults.
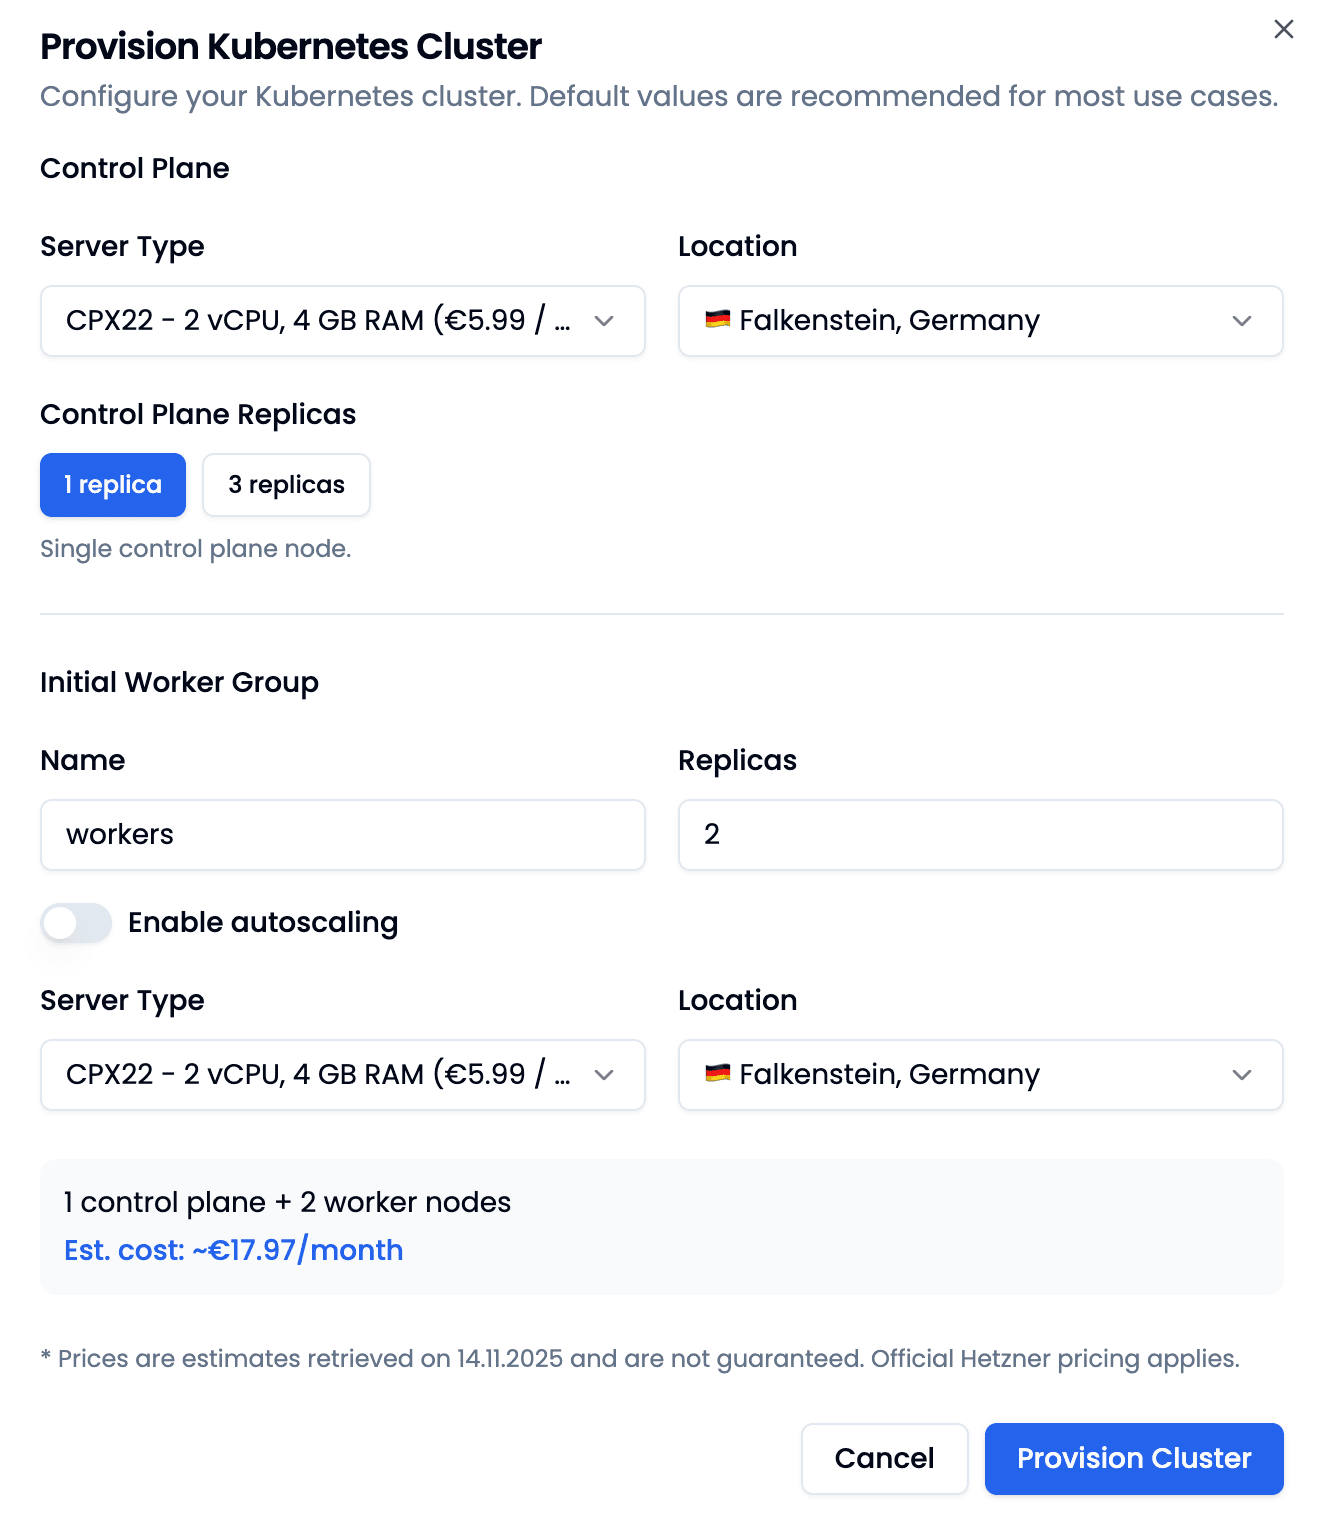
Click Provision Cluster to start the provisioning.
The following resources will be automatically created in your Hetzner account:
- Firewall
- Private network for the Kubernetes cluster
- 1 Control Plane VM
- 2 Worker VMs
- 1 Load Balancer for cluster management
- 1 Load Balancer for external traffic
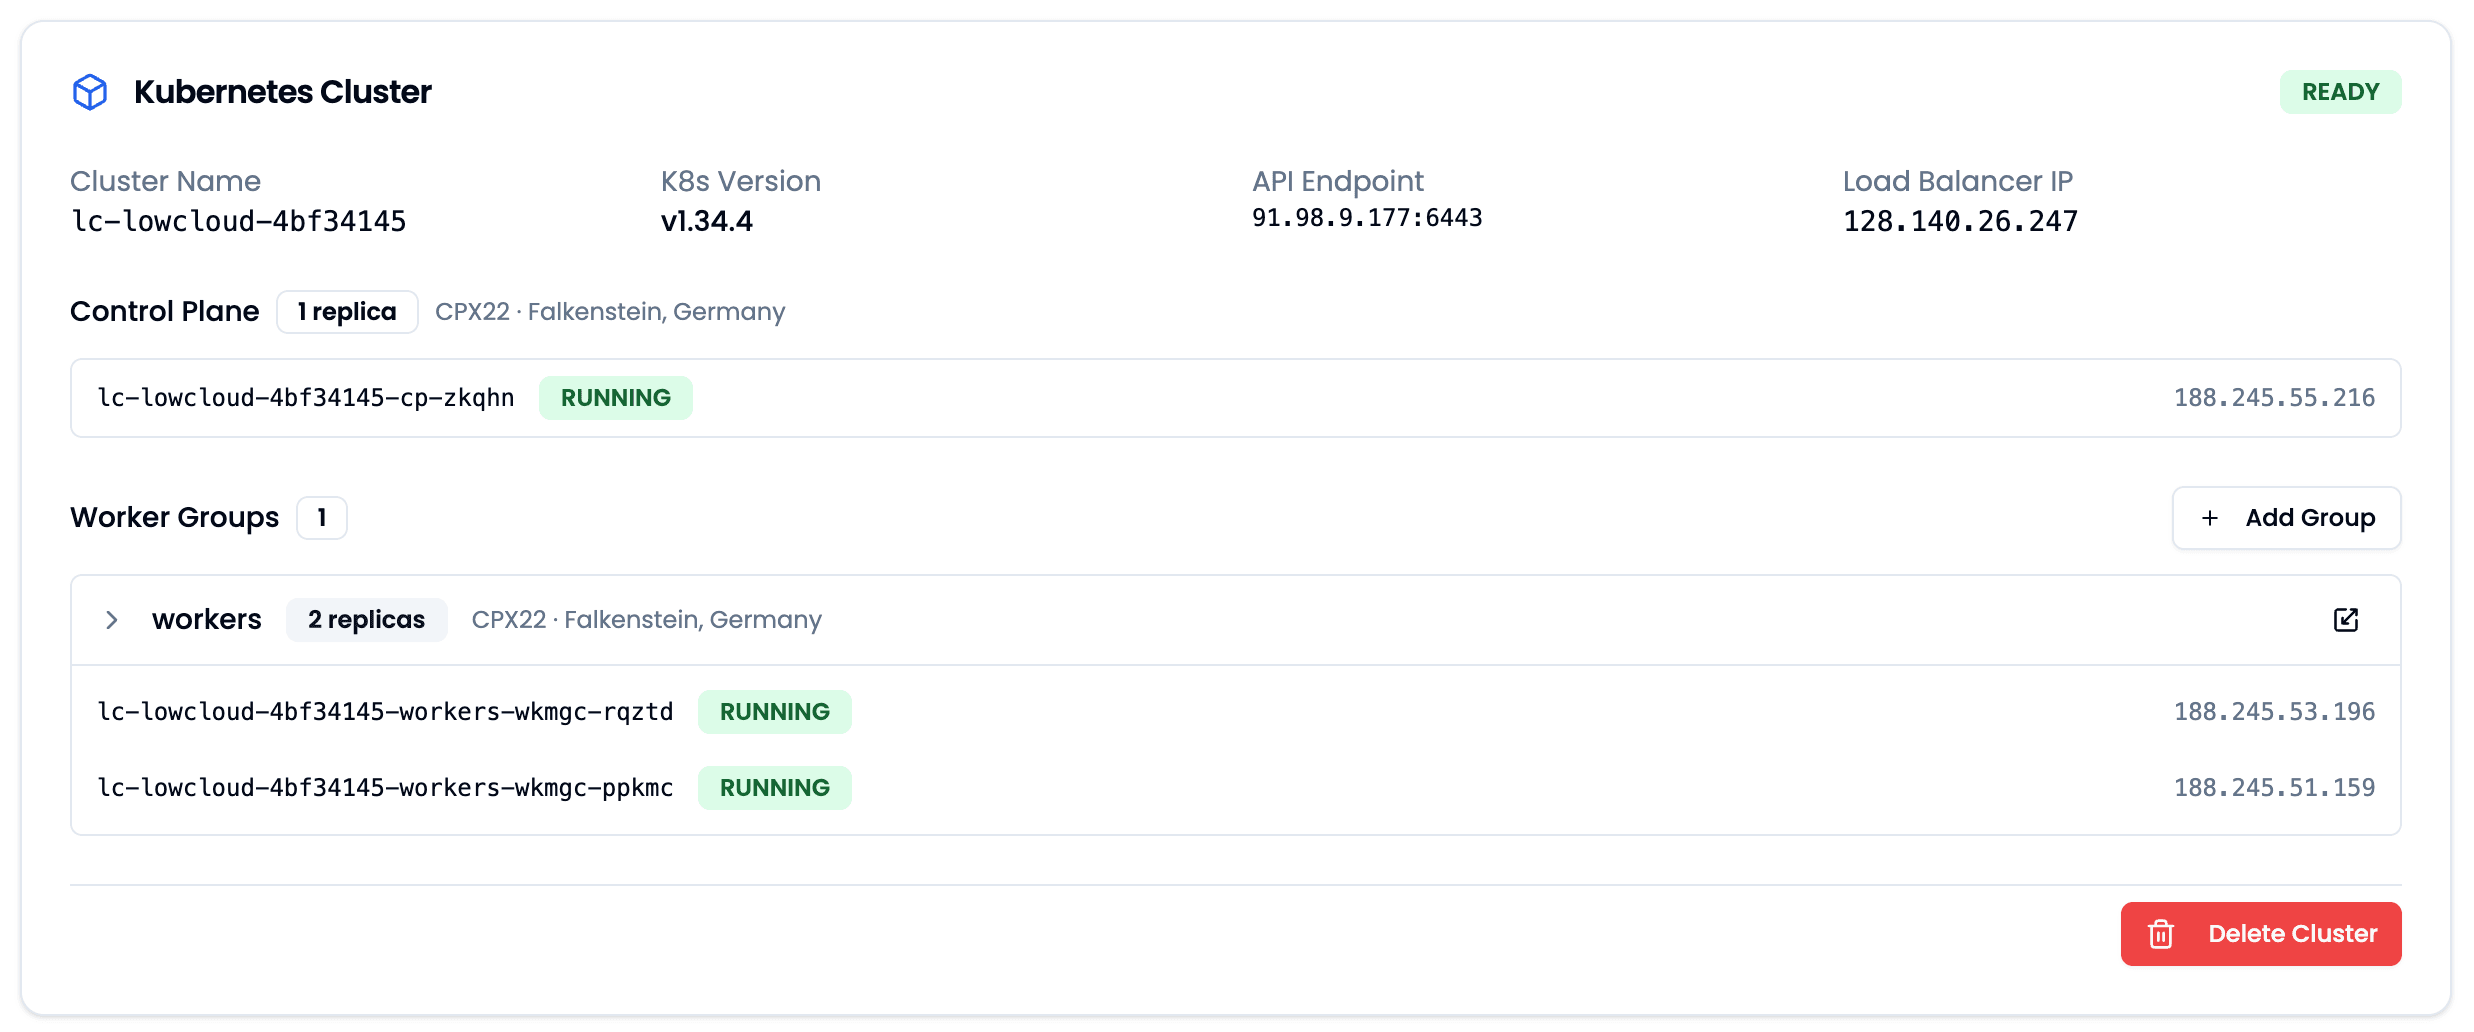
After a few minutes, the Kubernetes cluster is successfully created.
Step 4: Deploy a Sample App
Now we can create our first application. For this demo, we will deploy an nginx web server.
- Navigate to Services → Add Service → App Service.
- Choose a name, e.g.
nginx. - Click Next.
- Enter
nginx:latestas the Container Image URL.
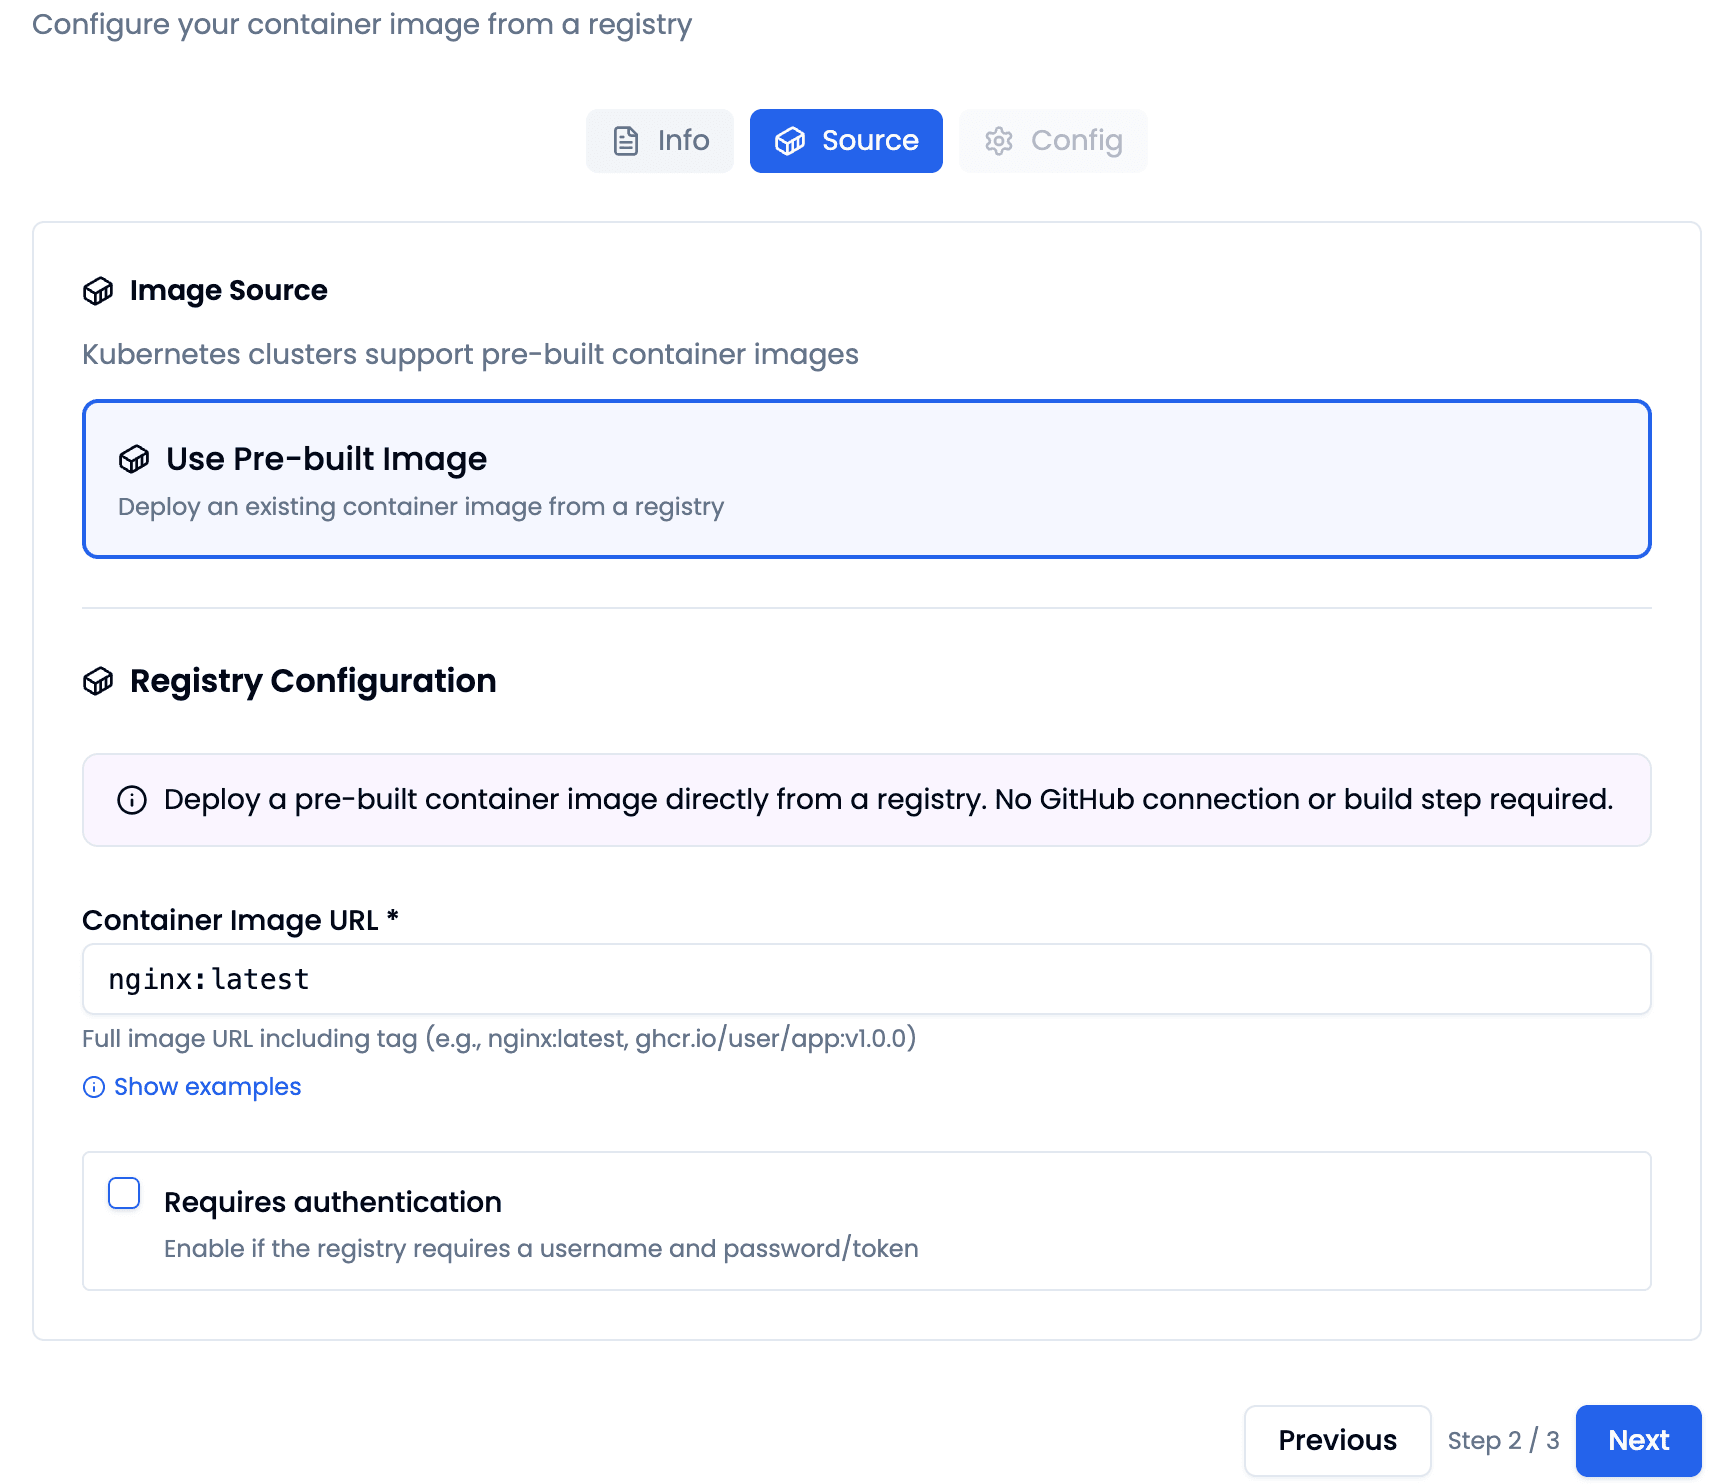
- Click Next.
- Keep the default configuration.
- Click Create.
The App Service has been created and can now be deployed:
- Open the App Service.
- Navigate to Deployments → Deploy Service.
- Confirm with Confirm Deployment.
The deployment will start and a URL will be generated.
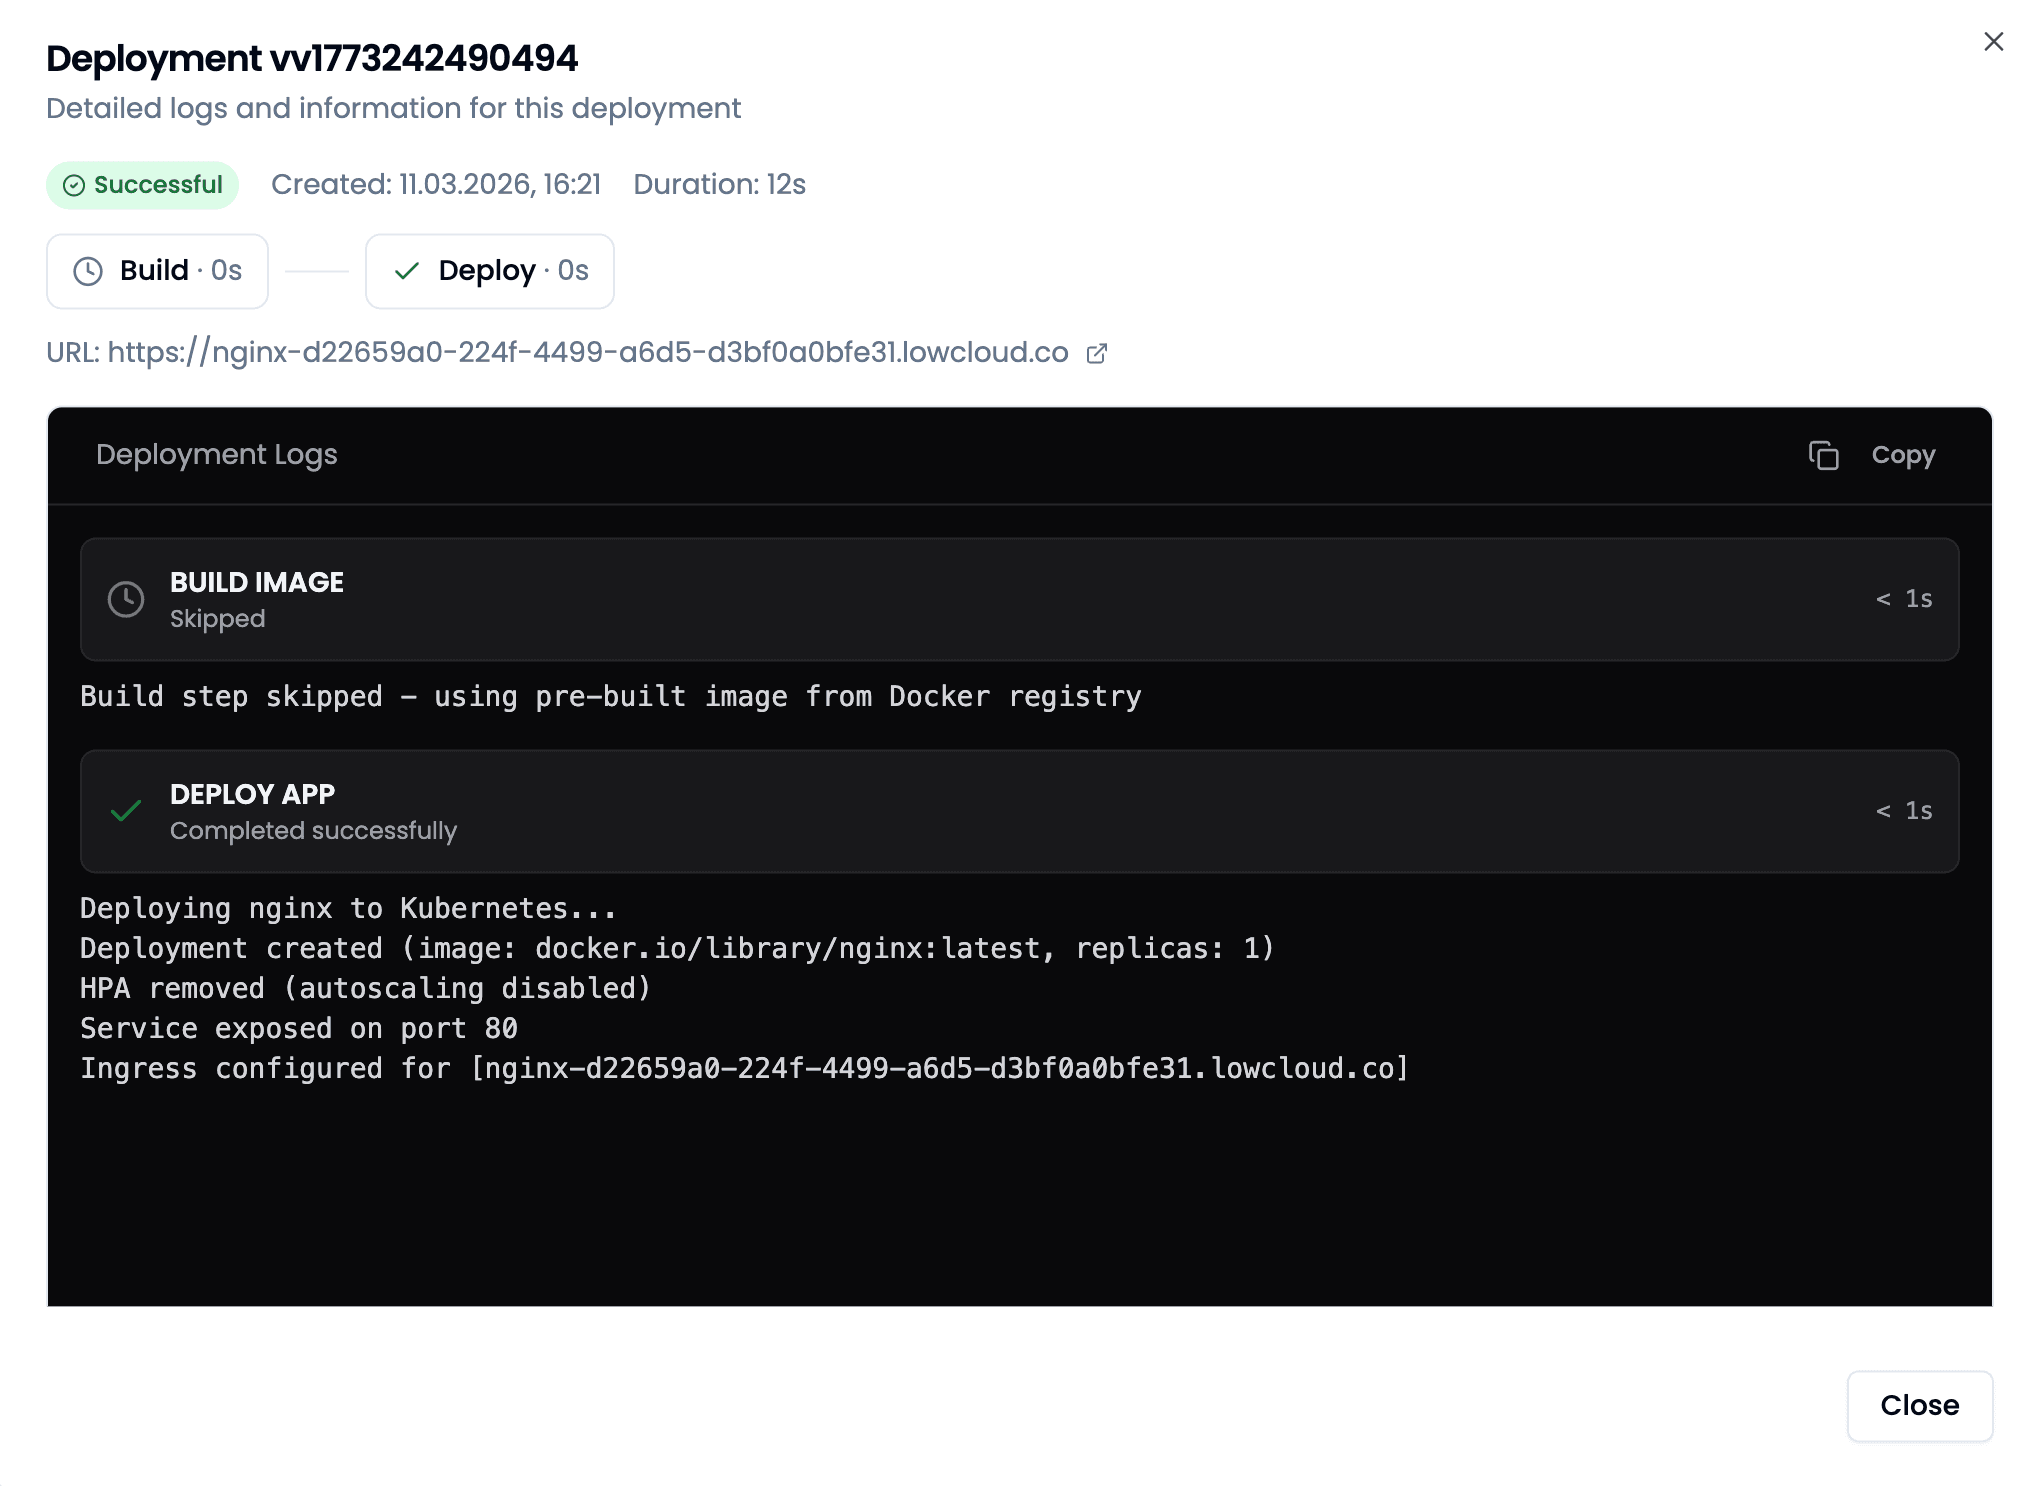
The URL is visible in the Deployment dialog or in the Domains tab of the App Service. The nginx server is now accessible under this domain.
Summary
In this guide you have:
- Prepared a Hetzner Cloud account with an API token
- Created a project in lowcloud and connected it to Hetzner
- Provisioned a Kubernetes cluster with a Control Plane and Worker Nodes
- Deployed a first application (nginx) and made it publicly accessible
Your Kubernetes cluster is now running on Hetzner Cloud and ready for more services.